Capacitive water level sensor
A number of methods can be used to determine the water level in a tank. One simple method, often used by cheap Arduino modules, such as the module depicted below, are resistive, meaning they measure the resistance between electrodes placed in the water. The more water covering the electrodes, the lower the resistance. This resistance can be easily converted to an analog voltage, which can be read by a microcontroller such as an Arduino.
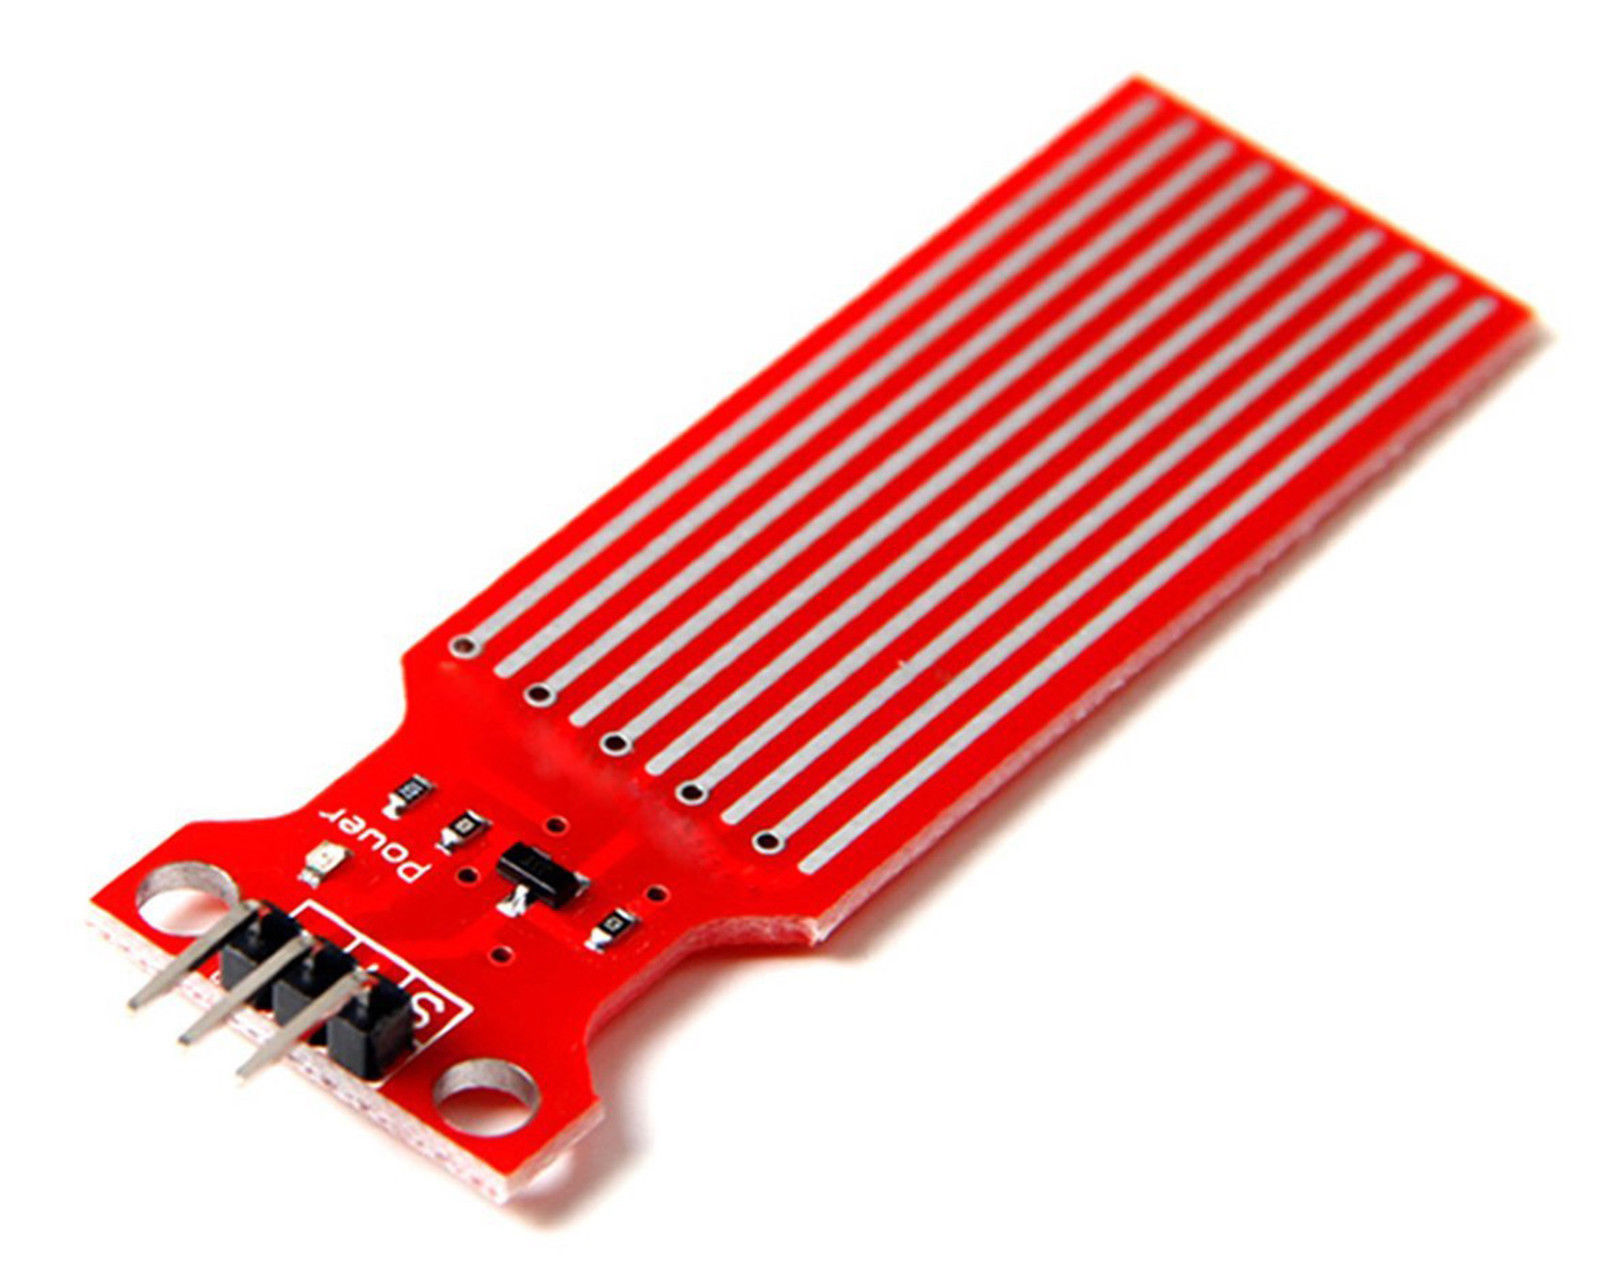 However, the problem with such sensors is that it requires passing a DC current through the water, which will cause corrosion on the electrodes. Over time, this changes their characteristics and can cause the sensor to stop working.
On the other hand, a capacitive sensor passes no direct current through the water and works by measuring the capacitance between the sensor's electrodes. Bottom of the sensor with U-shaped mounting wire
 Hose clamp holding the wire to the outer electrode
 Top of the sensor tube
 The Arduino starts by turning on the digital output and waiting for the analog input to read 3/4 of the supply voltage (i.e. wait for
On the other hand, a capacitive sensor passes no direct current through the water and works by measuring the capacitance between the sensor's electrodes.
Sensor construction
The capacitive water level sensor uses a layer of aluminum foil wrapped around a PVC pipe for the outer electrode and an insulated wire pulled tight inside the PVC pipe for the inner electrode. The aluminum foil was affixed to the PVC pipe using hot glue and the lead wire to the sensor was attached to the foil using a hose clamp. A U-shaped wire was glued across both ends of the pipe, and the inner electrode was glued to both wires. The lower end of the inner electrode was covered in hot glue so that the water cannot make contact with the inner wire. Bottom of the sensor with U-shaped mounting wire
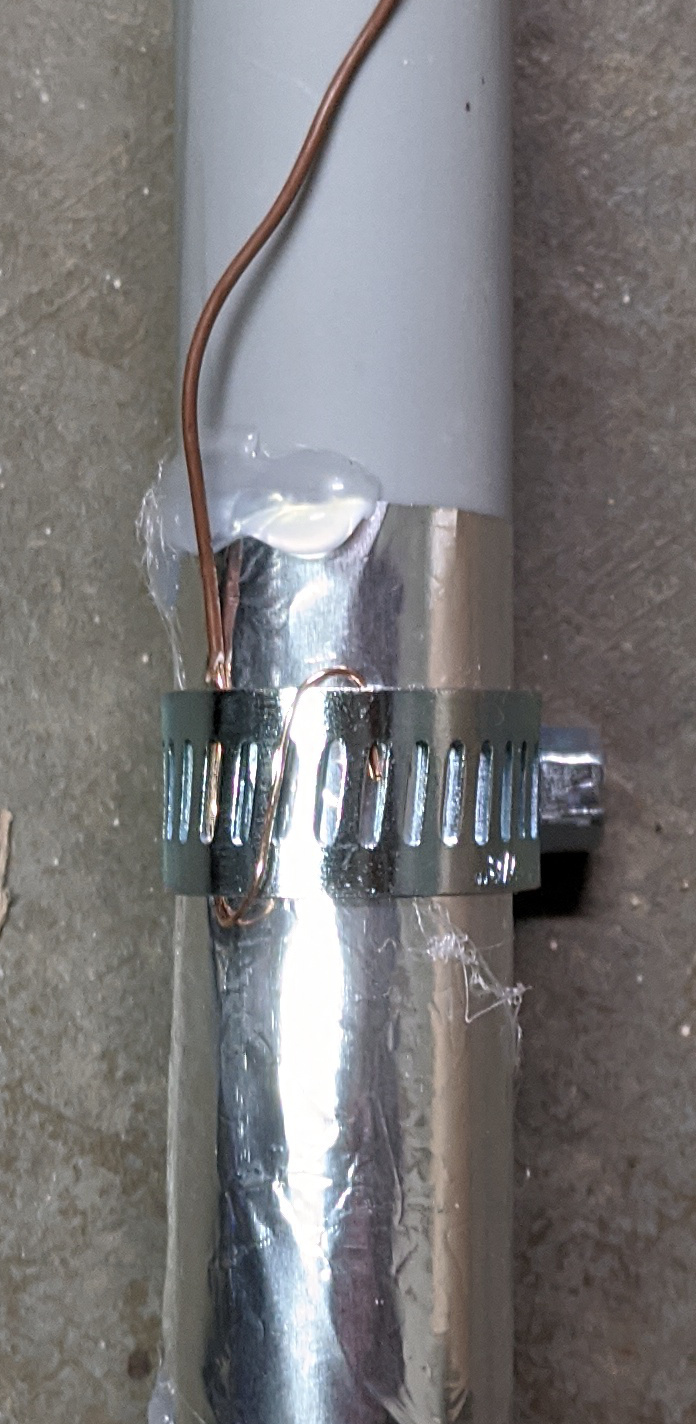 Hose clamp holding the wire to the outer electrode
 Top of the sensor tube
Operation of the sensor
When the tube is empty, the inner electrode is separated from the outer electrode by a large air gap, leading to a low capacitance. When the tube is partially submerged in water, the water surrounds the inner electrode. Since the water is in contact with the outer electrode, it is electrically connected to it. Thus, the effective gap between the inner wire and the outer wire is reduced to only the insulation on the inner wire. As the water level increases, more of the inner wire has this high capacitance, so the total capacitance of the sensor is higher.
To measure this capacitance with an Arduino, the following circuit is used.analogRead() to give a value of at least 3/4*1024=768). Then, the output is switched off and the capacitor is allowed to discharge to 1/4 of the supply voltage (analogRead() less than 1/4*1024=256). The output is switched back on, and the cycle repeats for a total of 100 times. The total time is measured and divided by 100 to get the average cycle time. This time is directly proportional to the capacitance of the sensor, which is roughly proportional to the height of the water level on the sensor. To make this work correctly, it is necessary to speed up the Arduino's ADC from its default speed.
Potential improvements
Aluminum foil
Since the aluminum foil is in contact with the water, it can still break down over time or accumulate a layer of dirt from the water it is in, causing changes to its capacitance. One potential improvement to the sensor would be to isolate both electrodes from the water. For example, the aluminum foil could be replaced by a wire hot-glued to the outside of the tube. However, this would decrease the capacitance of the tube, as the tube would now act as two capacitors in series (one at each electrode).Oscillator circuit
Currently, the capacitance is measured by letting the Arduino act as an oscillator whose timing is based on the capacitance of the sensor tube. Since the measurement procedure involves making successive calls toanalogRead(), the precision of the Arduino's measurement is limited by the speed of the ADC. A better approach would be to have an external oscillator circuit whose frequency depends on the capacitance of the sensor and to let the Arduino measure the frequency of that oscillator. Since no analog reads are involved, the measurement can be much more precise. To lower the power consumption of the circuit, the oscillator could be powered from an Arduino output during a measurement.


Comments
Post a Comment